Retrofitting an old PEAR industrial CNC
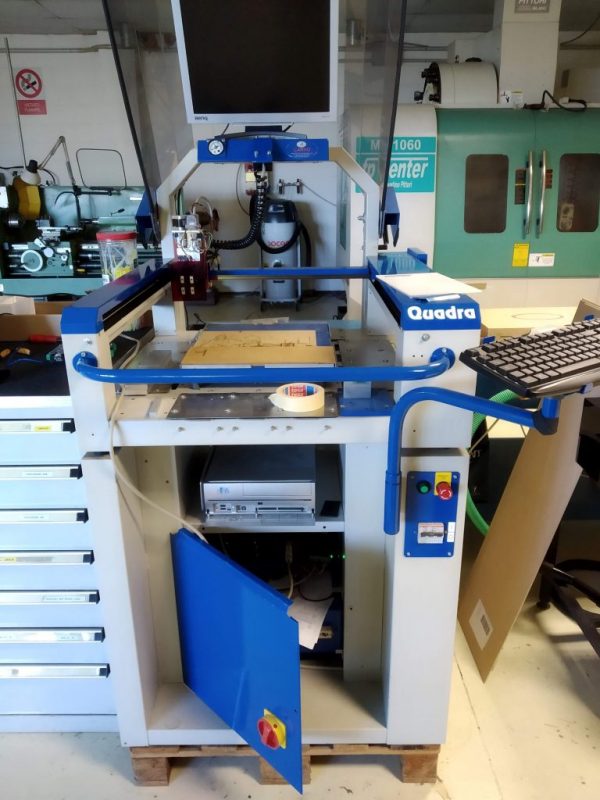
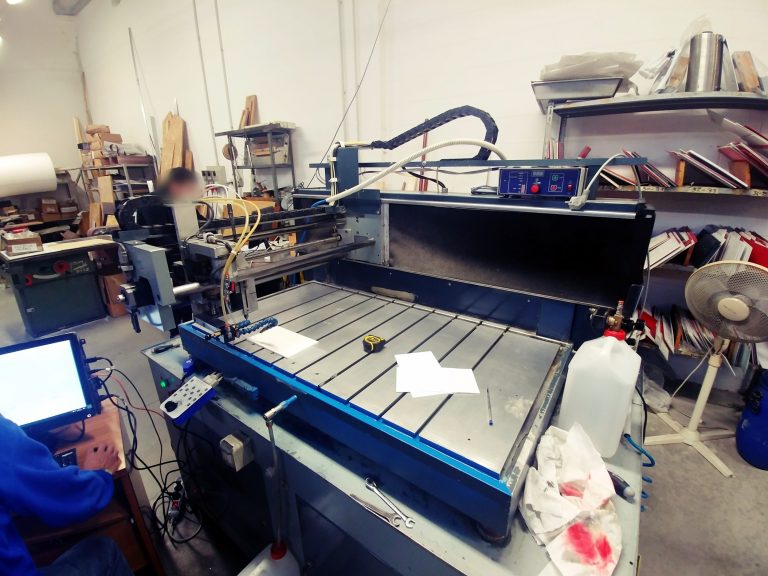
I’ve been using this old PEAR CNC machine for many years now. It was one of the first computer-controlled industrial CNC machines to be made available on the market and, in spite of its age, it’s still a valid tool for some kinds of mechanical prototype production.
Sadly, last winter the motion controller decided to lose all the parameters memorized in the RAM for the umpteenth time, and considering how much it would cost to have the controller repaired by the manufacturer, I decided it was time to renovate and upgrade the whole machine with our new cnc4fun elctronic boards.
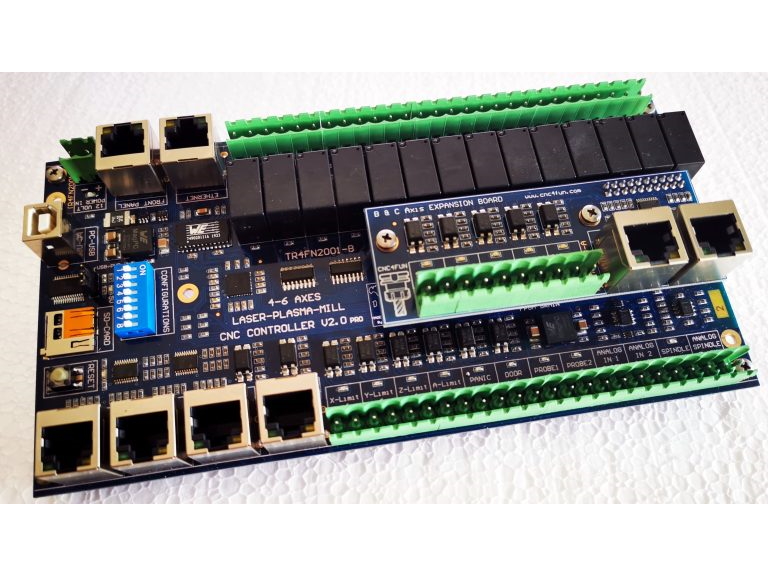
New controller board by cnc4fun.
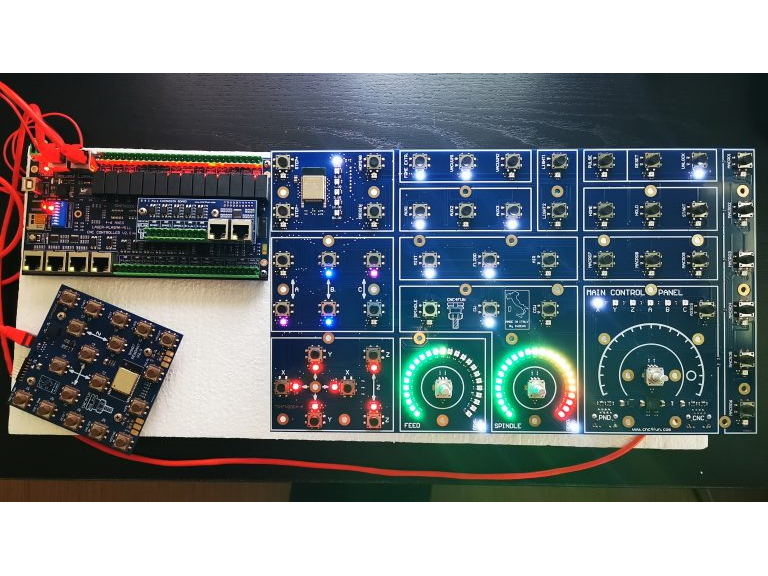
The new controller board with command panel.
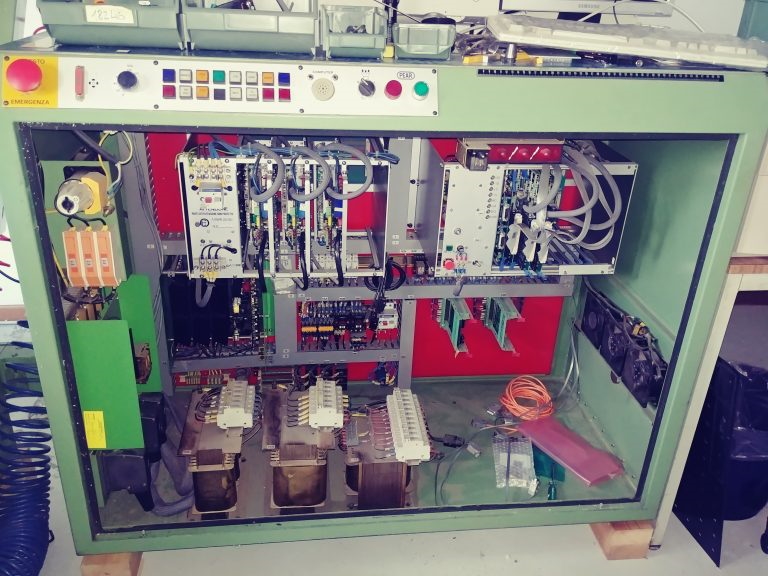
The original CNC circuitry.
Early phases of disassembling.
The original DC motors were quite old (almost 30 years) and not compatible with the new controller, so I decided to replace them with new brushless ones, which are also much better in terms of performance.
I made new mounting flanges and some 3D-printed cable adapters to fit the new motors to the existing motor compartments.
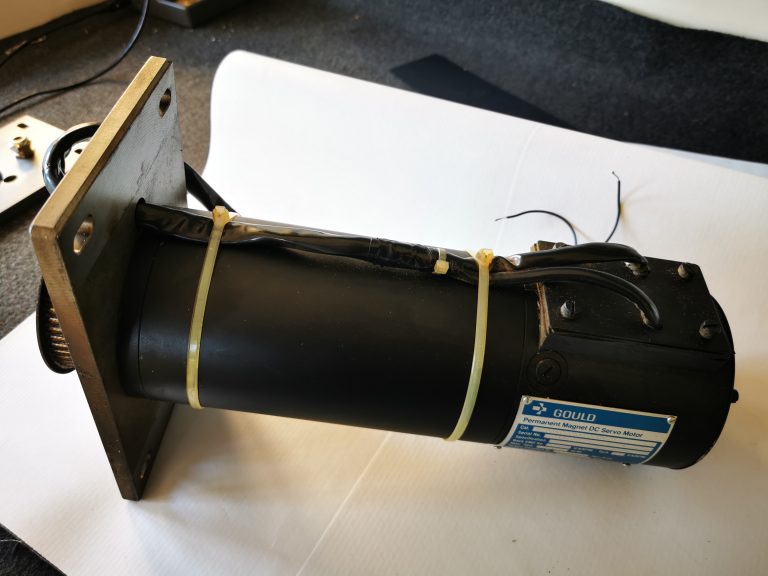
One of the old motors.
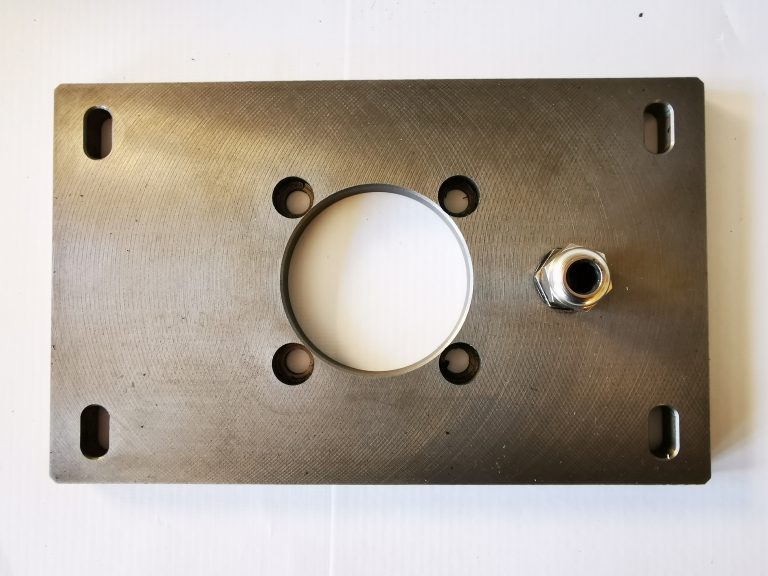
Old mounting flange.
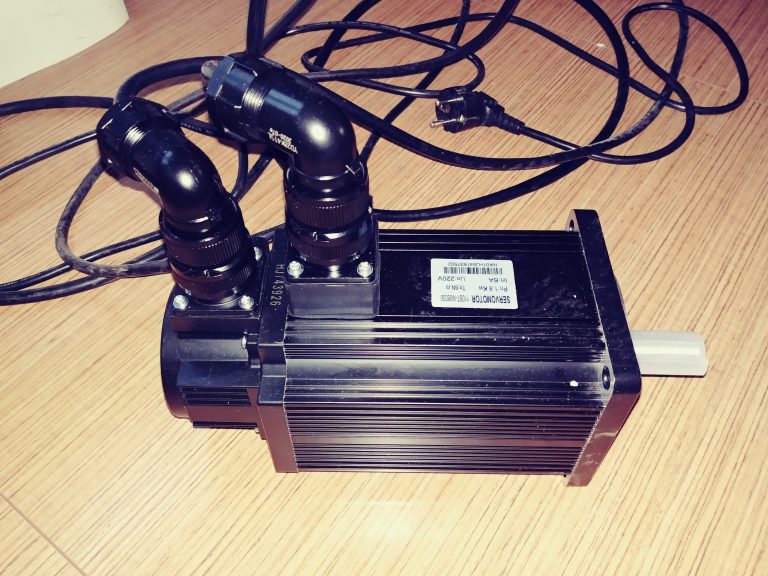
One of the new motors.
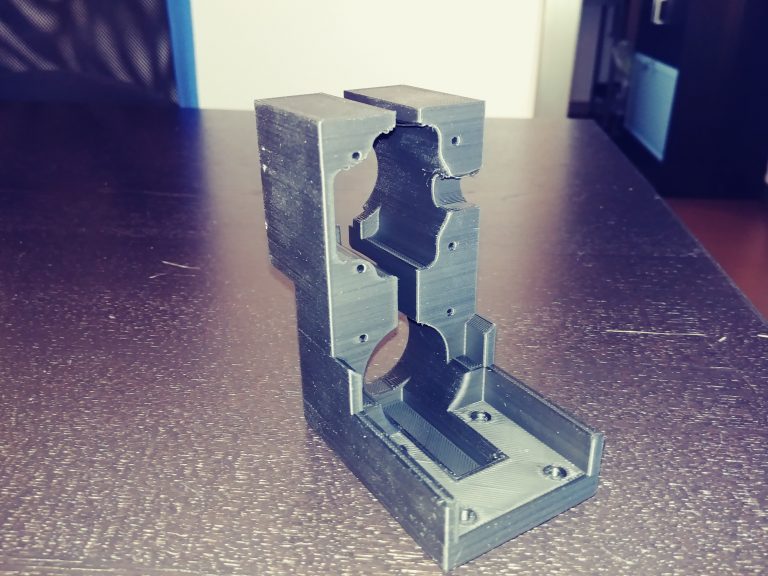
A 3D-printed adapter.
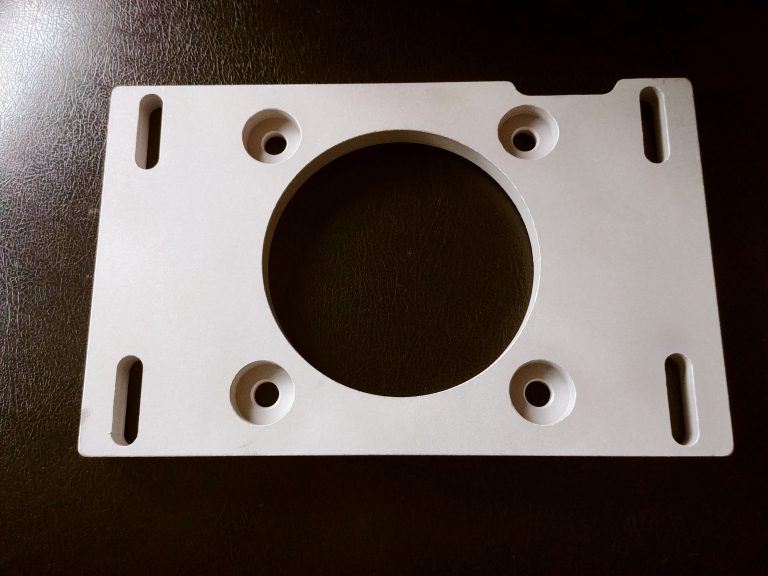
New mounting flange.
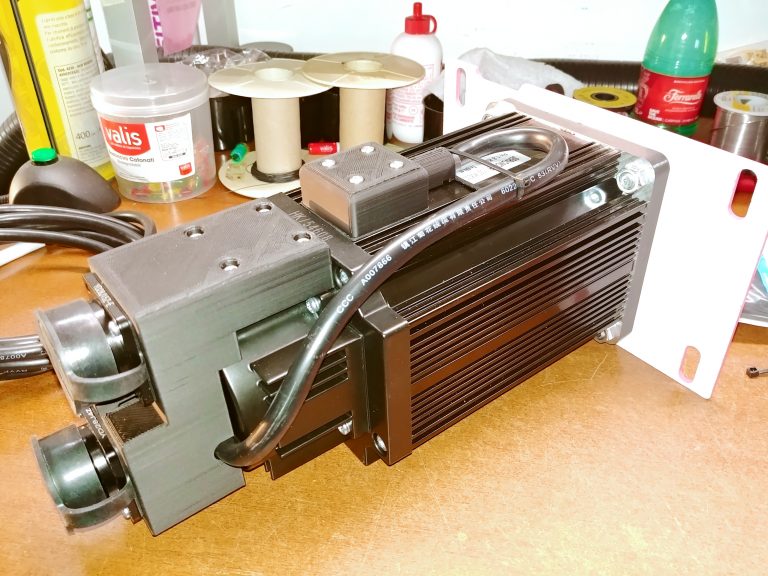
A new motor ready for mounting.
One of the old motors.
Old mounting flange.
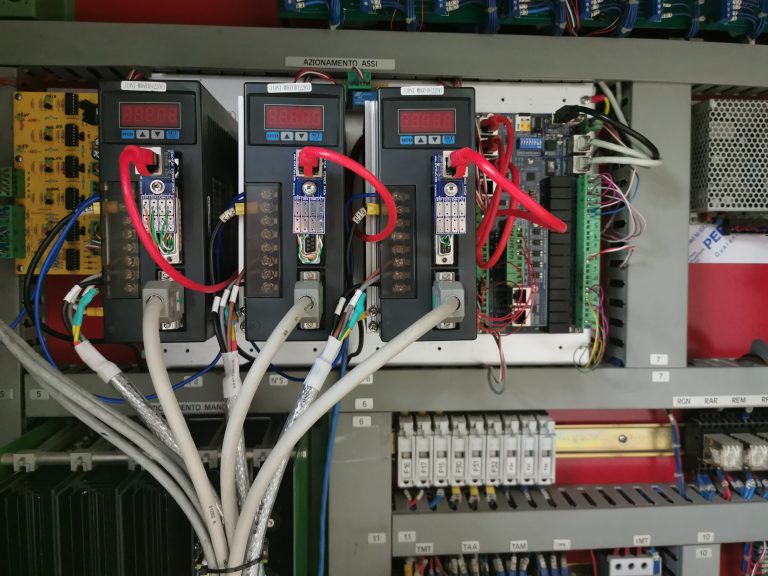
I only had a basic schematic diagram of the original CNC machine, which was not very detailed: due to this, I had to do an accurate “scavenger hunt” of the connection in order to understand how to rewire the machine with the new electronic boards and motors.
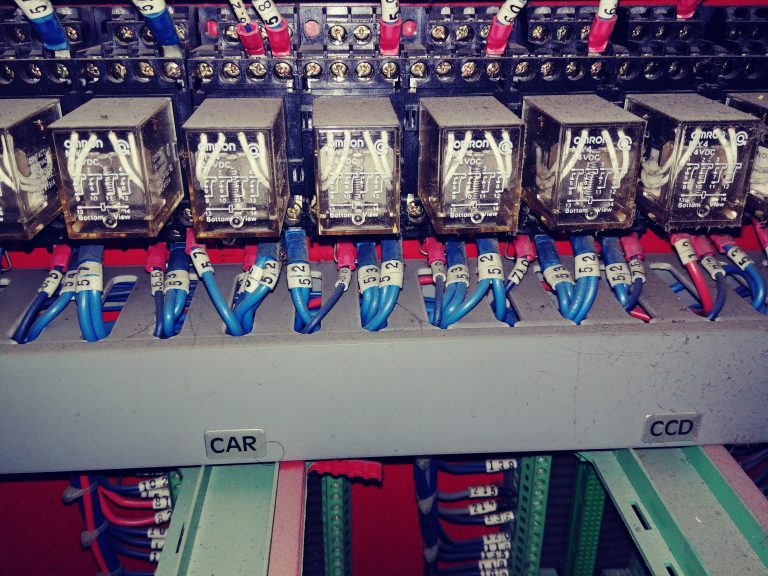
Part of the original cabling.
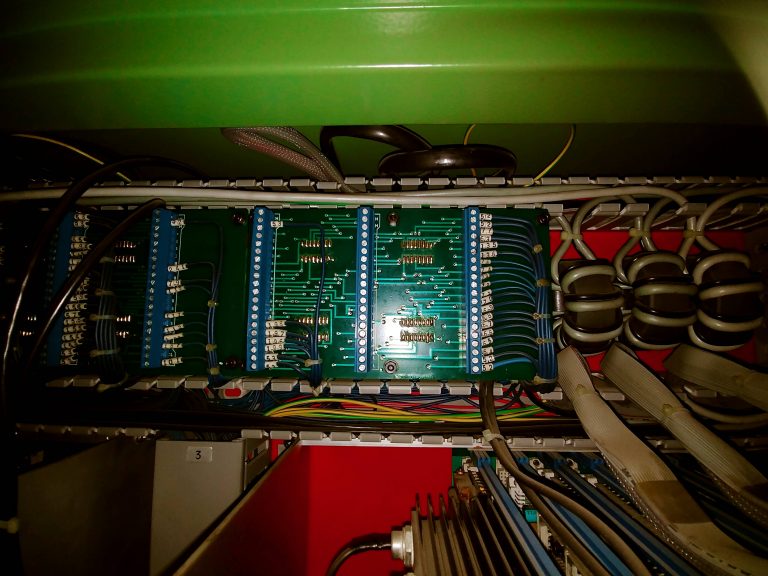
Part of the original cabling.
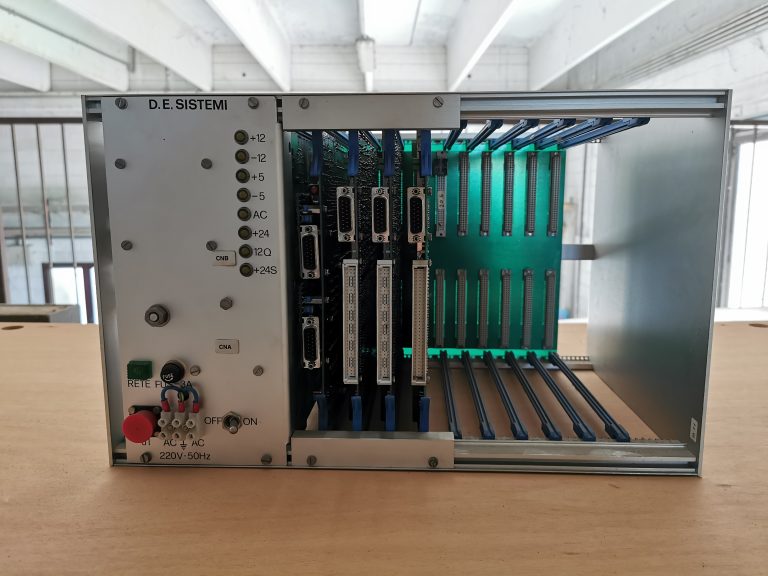
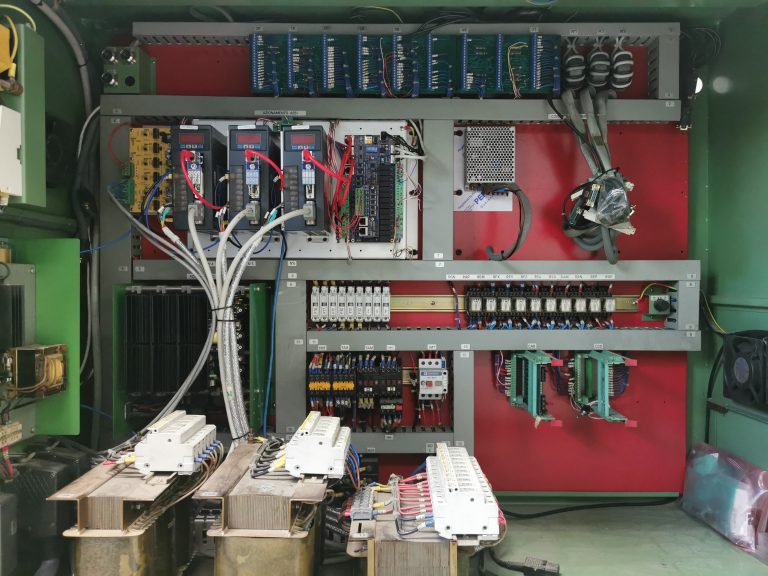
The original motion controller and the original drives were mounted inside two separate chassis. I replaced the two old chassis with my own simplified one, which supports all the new electronics.
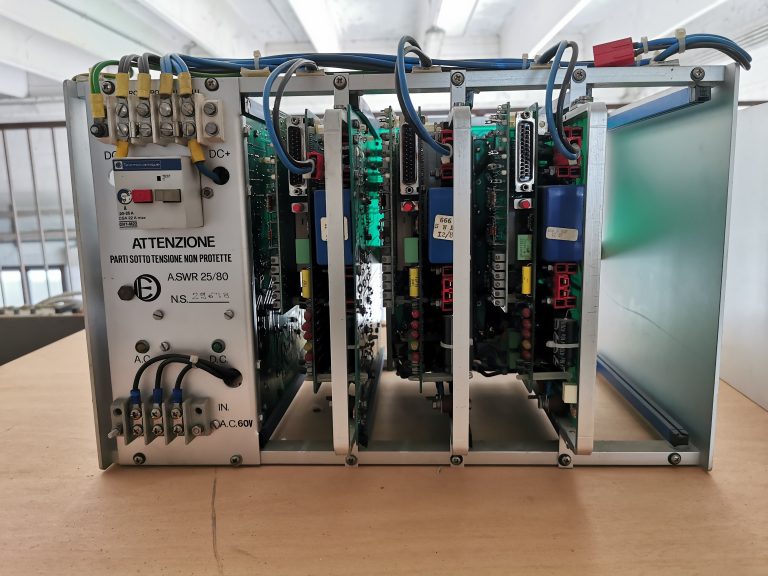
Original boards and chassis.
Original boards and chassis.
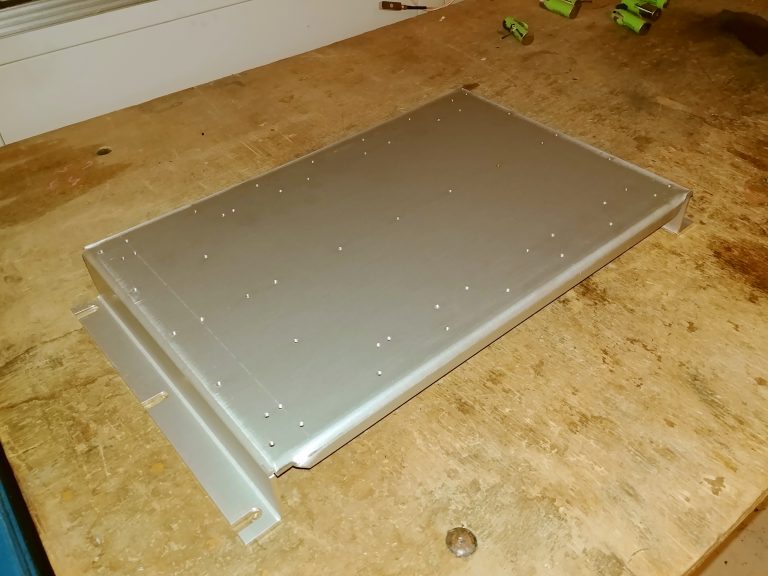
Chassis for the new boards.
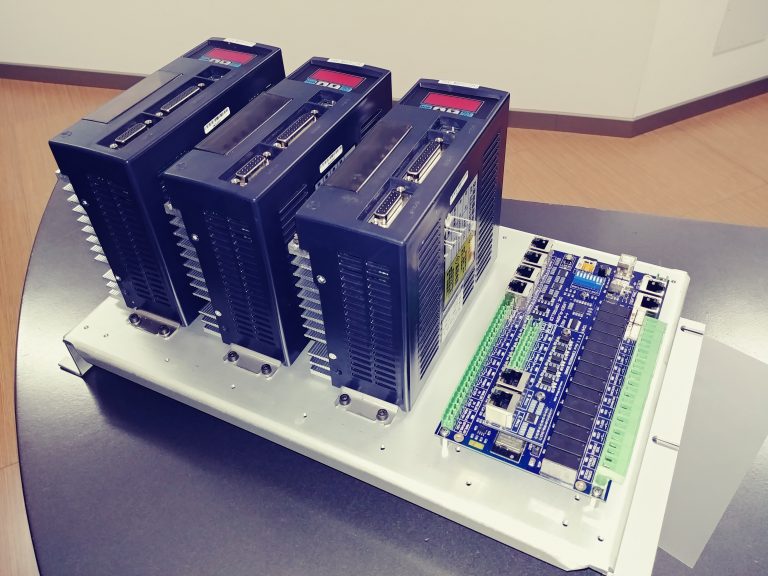
New boards and chassis.
After all these mechanical and dimensional adaptations, the time has finally come to install and rewire all the new hardware to the CNC.
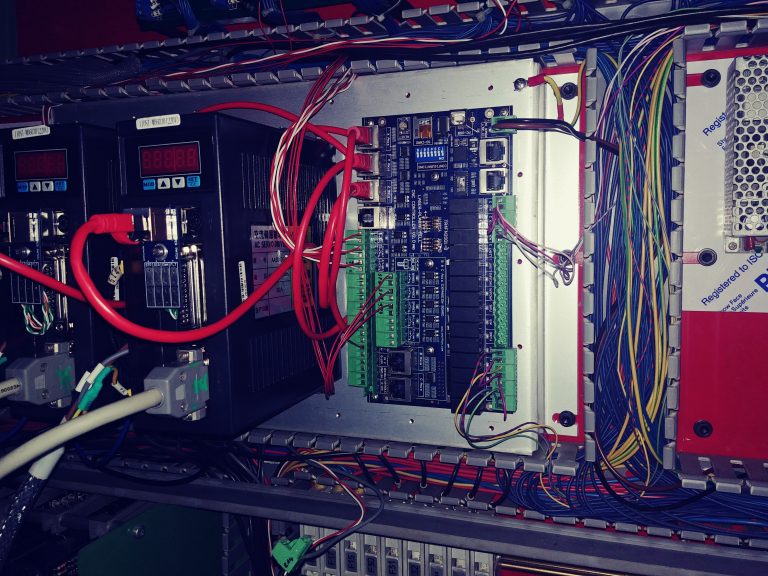
Cabling the new electronics.
Cabling the new electronics.
New finished cabling.
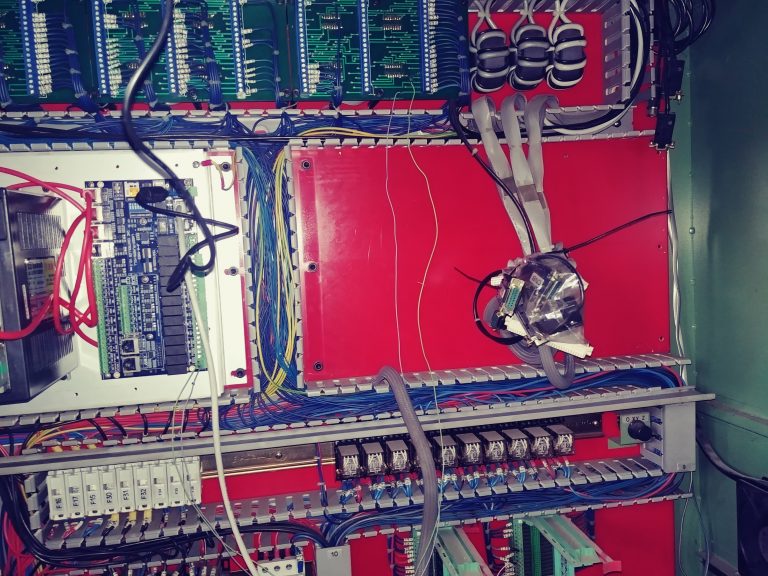
The electrical cabinet is now tidier.
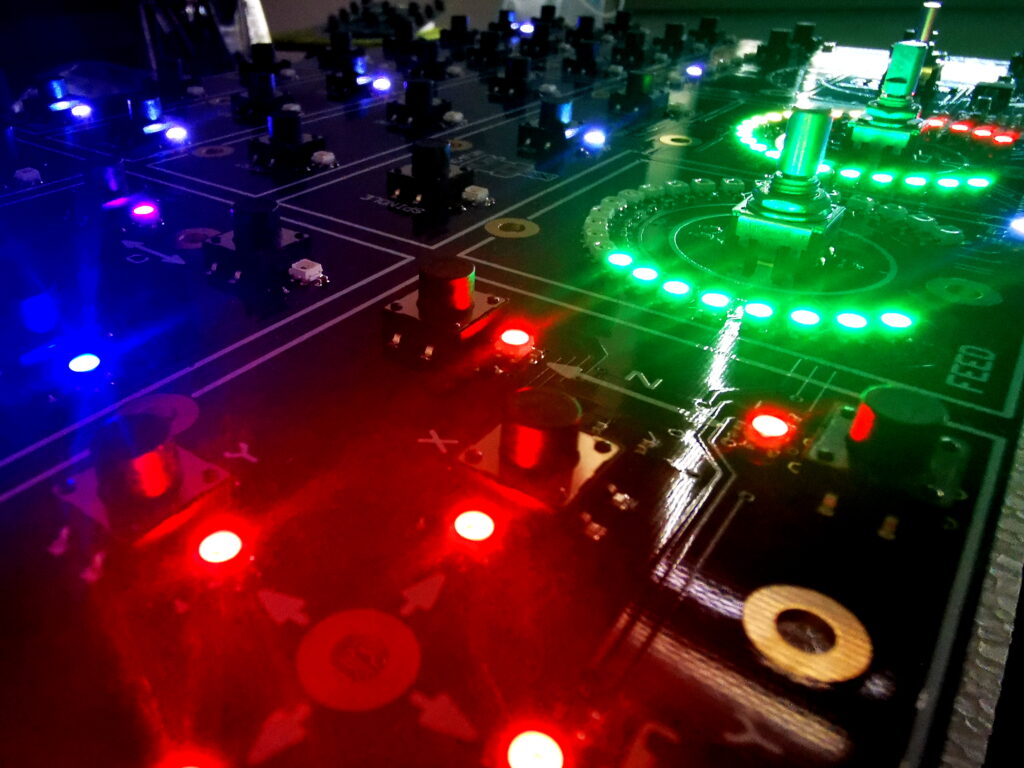
The cnc4fun boards also include a new powerful user control panel, which is housed in a UV-printed custom-made laser cut box.
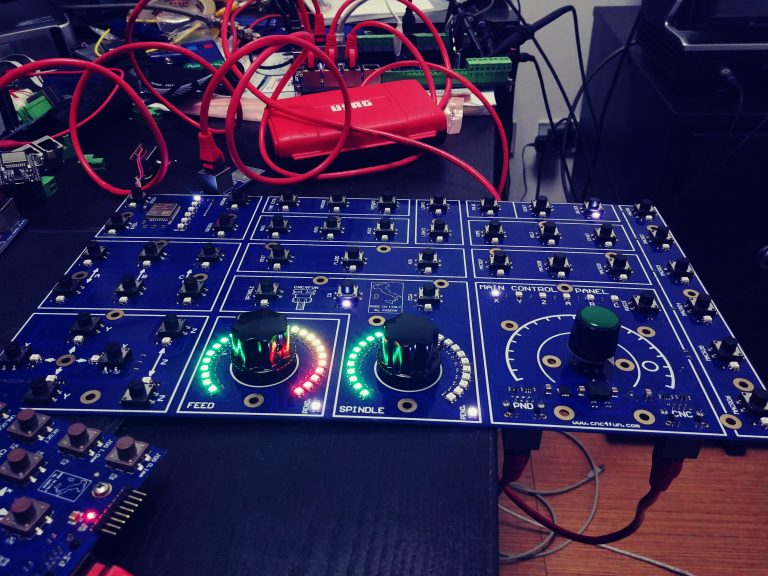
Testing the cnc4fun user control panel.
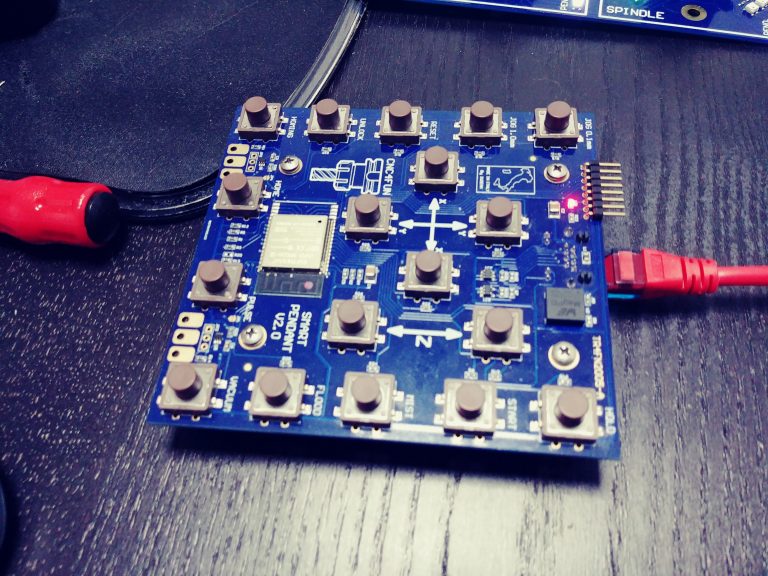
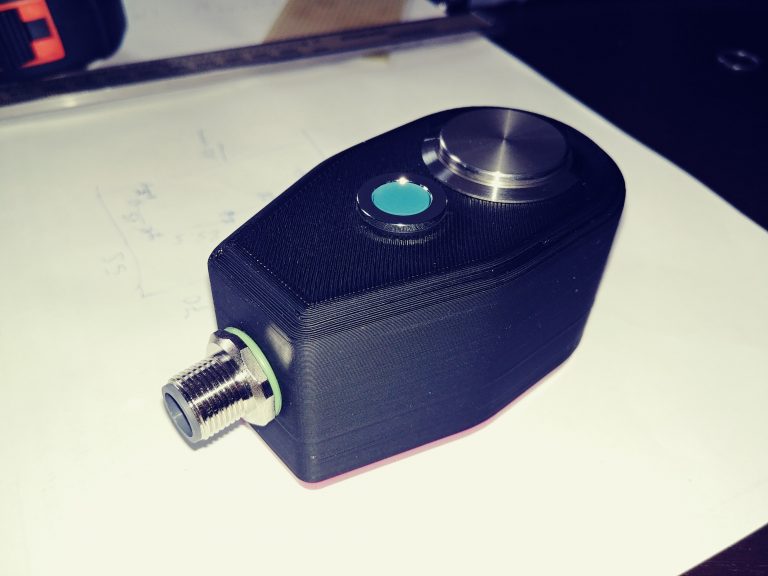
cnc4fun control pendant.
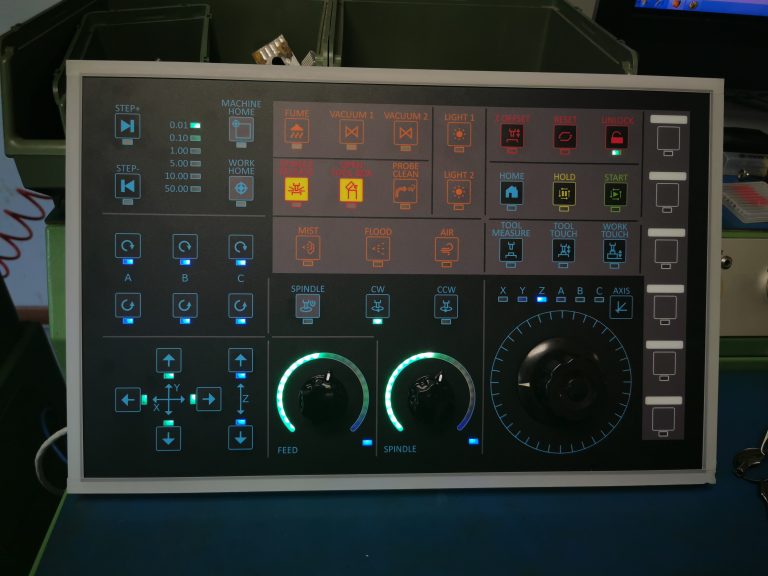
The finished control panel.
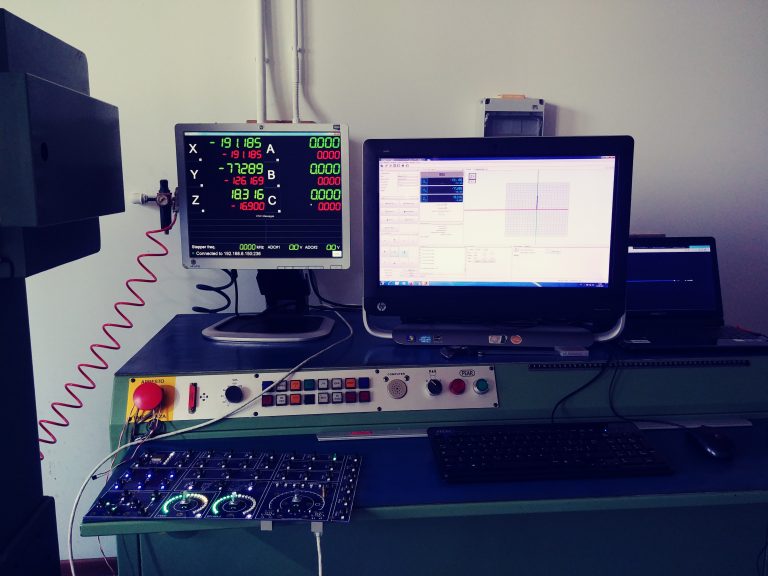
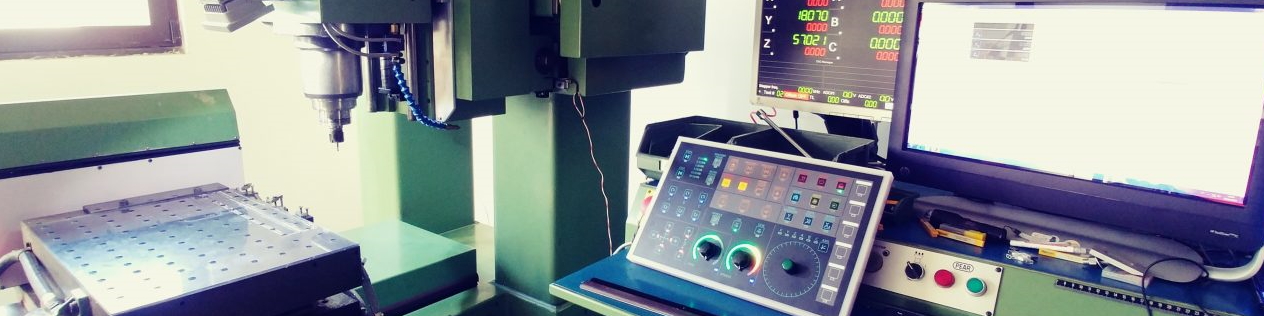
Testing the control interface.
Testing the control interface.
The electrical cabinet is now tidier.
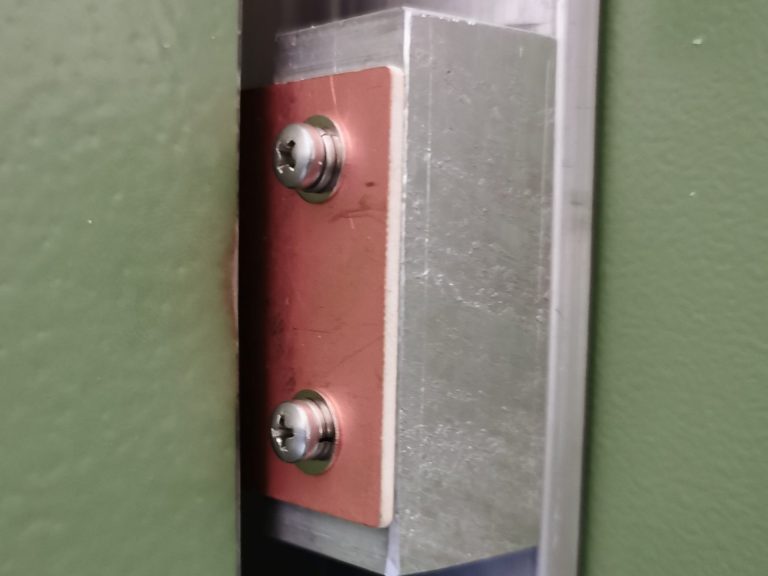
The PEAR CNC retrofit and upgrade is complete with the addition of a new zeroing sensor!
Zeroing sensor.
New axis-limit switch.

Testing the zeroing sensor.

Testing the tool measure sensor and procedure.
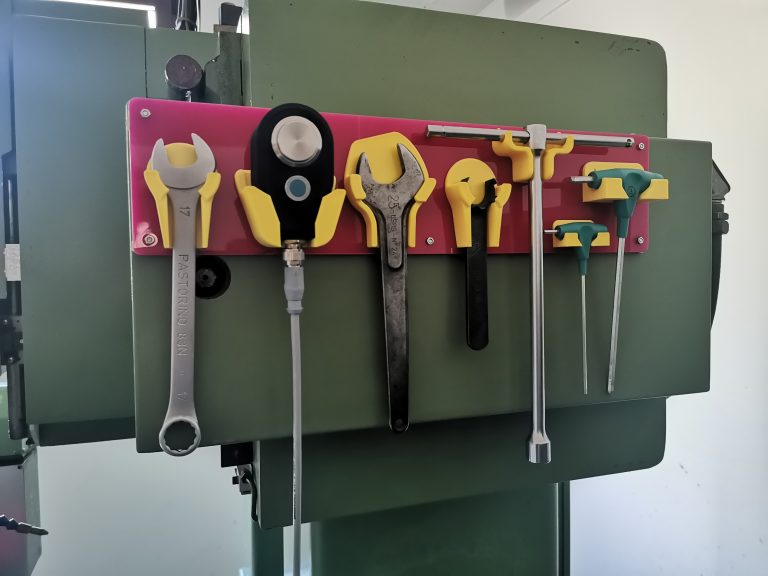
DIY tool carrier!
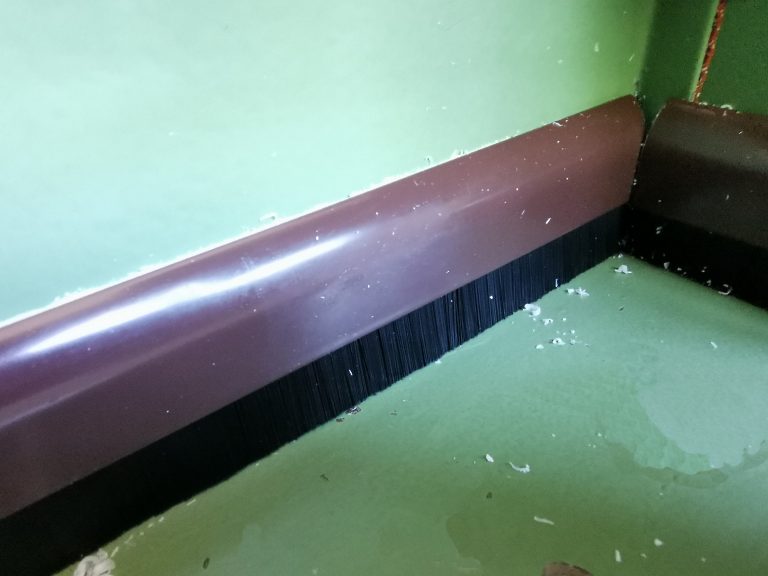
Brushes to prevent chips from entering the cnc.

Testing the movements.

Mist command.
Testing the movements.

Testing the tool changer.
The CNC retrofitting is now complete!

Testing the tool changer.